Primera Eddie, The Edible Ink Printer Review
Though it looks like an easy-bake oven, this is not. It prints on cookies, not out. Though we eagerly await 3D printing. The Primera Technology Eddie is and performs basic things. Based on our first name, “Eddie, the Edible Ink Printer,” is a food-safe inkjet printer. It has a special handling method for bulk printing on edible “media,” such as frosted sugar cookies. Primera is famous for its CD/DVD surface and label inkjet printers. If you can’t help but think of cookies and CDs, you’re on the right track. This innovative inkjet works well for customers who can afford its high entry price ($2,995 for our test configuration) and is fun to see. For the entrepreneurial type looking for a new side gig selling bespoke baked products, it could be a money-printing machine.
Primera Eddie Specs
| Color or Monochrome | Colour |
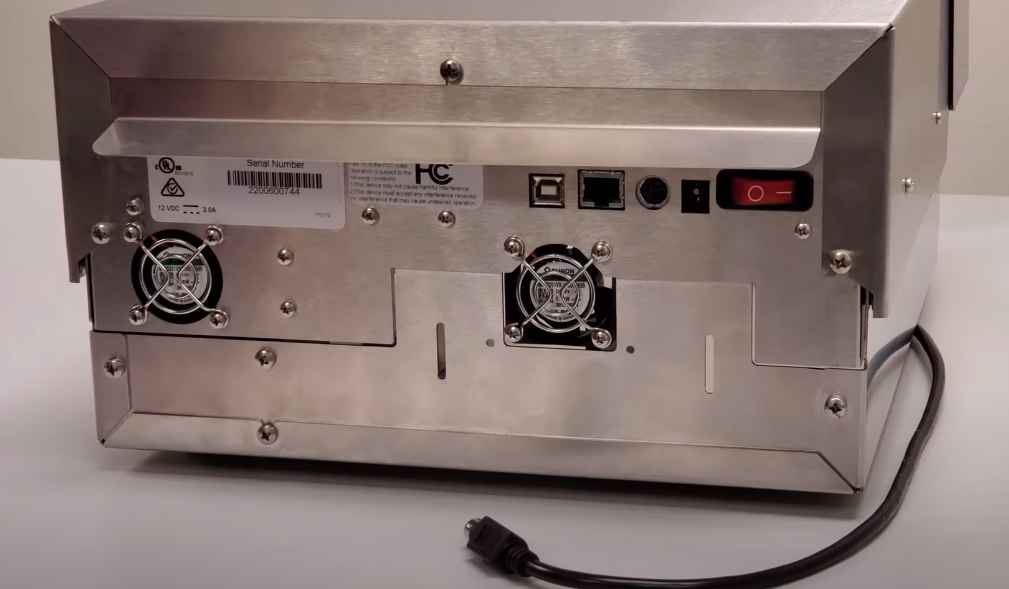
| Connection Type | Ethernet |
| Direct Printing From Media Cards | NO |
| Maximum Standard Paper Size | Variable |
| Monthly Duty Cycle (Maximum) | Not Rated |
| Number of Ink Cartridges/Tanks | 1 |
| Rated Speed at Default Settings (Color) | 5-6 cookies per minute |
| Print Duplexing | NO |
Design
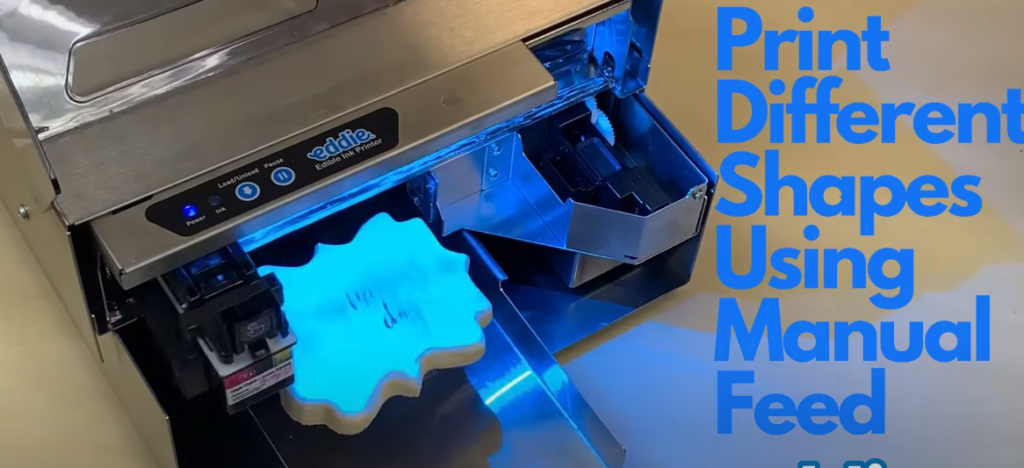
Although Eddie is known as “the cookie printer,” he can do more. My review used solely white frosted sugar cookie blanks, some from Primera and some from elsewhere. Primera doesn’t offer blanks, but they’re easy to get online. Eddie can print on more than cookies. If they fit the tray’s width, height, and other requirements, you can print edible designs and sayings on macarons, doughnuts, and cupcakes. I only had the cookie tray pictured here.
Parts Made
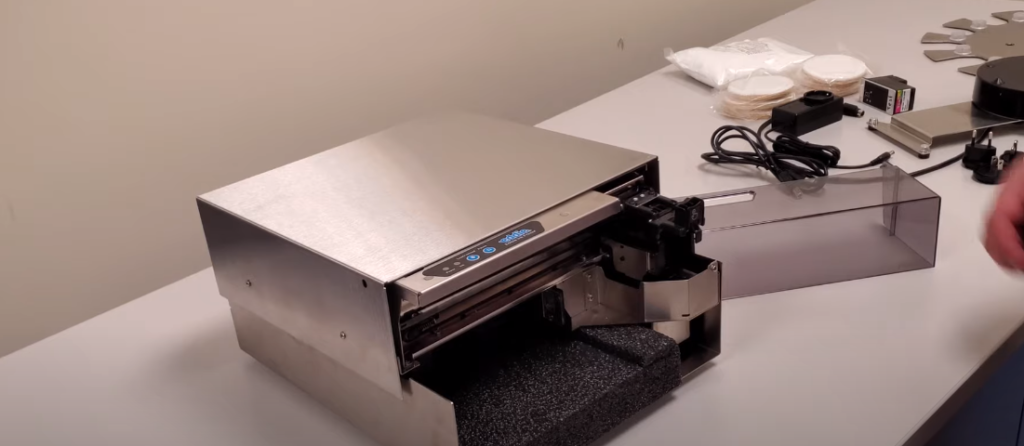
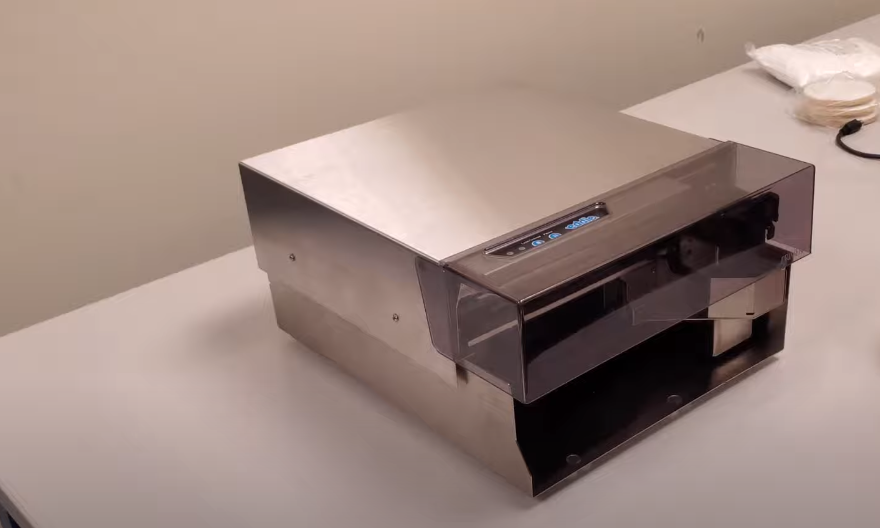
Eddie arrived in a huge carton with several smaller cartons. Well-packed is an understatement. Though hefty to carry, even the worst delivery person is unlikely to cause any harm. A second person will make packaging and construction much easier. However, my Eddie was unpacked, constructed, and print-ready in 30 minutes. Eddie is primarily a carousel-driven inkjet printer. The handbook instructs attaching the cookie-blanks carousel motor and putting it into a connector on the back of the printer, inserting a crumb tray or filter and the ink cartridge (like any other inkjet), and setting the carousel on top of the turntable. The carousel can hold 12 cookies, but you can print fewer. This carousel works with round, square, and triangle cookies with diameters between 2.5 and 3.85 inches.
Remove the small triangular spacers on the carousel to print different delicacies and round cookies from 3.5 to 4.375 inches in diameter and up to 2 inches tall. Third-party trays for other media and sizes are available. Primera’s documentation mentions sugar cookies, macarons, graham crackers, marshmallows, cake pops, any frosted cookie, white-chocolate-covered cookies, and more that the Eddie can print with the correct tray. A short look at the Eddie Facebook group page will show you some inventive cookies. Our sample requires a smooth or frosted cookie top, although Eddie users have printed on tougher surfaces. All in the experiment.
Software and Cookie Considerations
Primera’s software composes the printer’s picture. Both third-party graphics and composition utilities can be downloaded from Primera’s website. BeLight Software provides Swift Publisher for Mac users. The PC is BarTender. Not cookies; both packages were designed to print on round labels or CD/DVD surfaces. The BarTender program is simple once installed.
Almost any graphics software can make an image that suits your cookie or edible blanks. I printed cookies in Canva and Adobe Photoshop Elements as well as BarTender, and the blanks matched perfectly. The only thing to consider is the image format. I tested using free PNG photos from numerous places. I also dimensioned and cropped a JPG image in Photoshop Elements, exported it as a PNG, and then printed it in BarTender. If you’re comfortable with picture editors, no problem.
Even with little expertise, well-written and detailed instructions and online tutorials will help you print your first cookies. Downloadable video tutorials are available. These instructions cover printer setup, maintenance, and BarTender cookie printing. If needed, Primera offers a one-hour in-person walkthrough. I recommend watching these videos if you’re unsure of your printer and software skills.
The PC Eddie software has two parts. Eddie’s software immediately loads the Primera PrintHub, a central control and reporting tool. Windows Start menu users can manually load it. It displays printer status, ink remaining, the last few print jobs, and the calculated print job pricing. It allows alignment adjustments and print cartridge orders. Primera claims that one ink tank can print 1,400 to 2,700 3.5-inch cookies, depending on the surface area (the “cookie coverage”?) printed, ink saturation levels, and other factors.
Testing
Fill the carousel with cookie blanks, set the BarTender cookie count, and then press print. The carousel can store up to 12 cookies at once and stops when the final cookie is printed, allowing you to fill it with new blanks. I printed 75 cookies for review. The instructions don’t say that cookie blanks can’t be guaranteed to be the stated size. The blanks Primera delivered with the printer were a bit smaller than the ones I bought, so the first few cookies I printed from my order had a non-printed ring around the edges, which I soon corrected. Not all cookie blanks were spherical, which was another issue. Some had elliptical shapes. Some cookies were printed with an off-centre picture. Finally, adjust saturation before printing in bulk. BarTender includes a Vivid mode; however, printing multicoloured cookies with designs will use up a few blanks while you find a setting.
Set Up?
- Power the wifi extender. When first powered on, it broadcasts its SSID network name.
- Search for BrosTrend_EXT on your wifi-connected PC or laptop.
- After connecting, a browser window will open and urge you to create a password. Visit re.brostrend.com or type 192.168.0.254 in your address bar if prompted.
- Choose the network and provide its password to expand it. Avoid this step. Just, press the”Switch Modes” at the top.
- The device configuration page appears. Select AP Mode and Switch Mode.
- After changing the mode, connect the WiFi extender to the LX3000 or Eddie using a standard Ethernet wire (typically provided). Installing the LX3000/Eddie driver is next.