How to Update Your Computer’s BIOS/UEFI?
A little chip on the motherboard houses a computer’s BIOS, which manages its basic instructions. It powers your PC, boots an operating system, and manages peripherals like storage, keyboards, and more. This software should rarely be touched. Your PC’s maker may occasionally release BIOS upgrades with enhancements, but they rarely add new features or speed boosts.
To update to Windows 11, you may need to enable the TPM security chip in the BIOS; however, it may be enabled by default. Building a computer or overclocking your CPU or GPU are the only other reasons to access your BIOS. Leave the BIOS menu alone unless the current BIOS has security patches, supports new hardware, fixes a bug that’s been bothering you, or you know what you’re doing. Learn how to update your BIOS if you fall into one of these categories.
Current BIOS Version Check
You’ll need to know your BIOS version number to compare it to the list of available upgrades to see if they’re newer before updating. After reviewing the change logs, you may decide not to update. Your BIOS version can be checked most accurately by entering the BIOS setup (UEFI) program before booting and looking at the number there. This is normally on the first tab, Main. The OS may also provide version information. To check your Windows version:
- Launch System Information Search for system information.
- Look for BIOS Version or Date in the right column.
Not all motherboards communicate their version numbers to Windows accurately. If the code doesn’t match the manufacturer’s site’s BIOS version numbers, going right into the BIOS and looking at the interface can yield a more accurate result.
Note or screenshot your settings before updating.
Updates often reset BIOS settings to their defaults. Before updating, write down or take screenshots of any BIOS settings you’ve altered, such as custom overclocking, XMP, RAM timings, or drive boot order. Insert a USB flash drive and press F12 to screenshot most BIOS configuration menus. You must check and re-enter these values following the BIOS update.
How to Find the BIOS Update File
Your motherboard maker or PC OEM normally offers a single file to obtain the newest BIOS version before you may update. Windows software (unrecommended) will download your BIOS upgrade.
Otherwise:
- Visit your product’s support or downloads website to find the file. For my Asus ROG Strix X570-E motherboard, I searched for the product page on Google, hit the support link, and located the BIOS under “Driver & Tools”. distinct manufacturers’ websites have distinct navigation.
- Get the newest stable version. If a BIOS is labeled “beta,” use the latest file.
- Unzip the zip file.
Update the BIOS using UEFI Setup.
- Transfer the BIOS to a FAT32 USB flash device.
- If Windows Bitlocker encryption is activated, suspend it. If the encryption is looking for the old BIOS, updating the BIOS without doing this may cause data loss. Bitlocker only works in Windows 10 or 11 Pro but turns on when you sign into a Microsoft account. Search “Manage Bitlocker” to discover the suspension menu. Bitlocker can be enabled again after updating. Remember to save your Bitlocker recovery key on a flash drive.
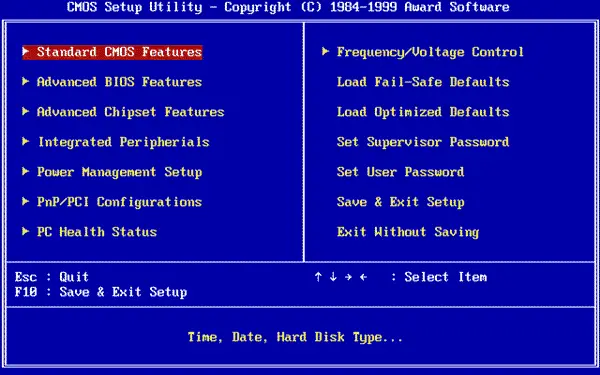
- Enter the BIOS after rebooting. F2 or Del during POST (power on self-test) usually gets you there. See our BIOS entry guide for a complete list of access keys and alternative methods.
- Change from easy to advanced menu mode if the system offers a choice. The key to press or button to click to enter advanced mode is usually noted at the bottom of the screen. To exit “EZ mode” on Asus motherboards, press F7.
- Access the BIOS update menu. Each motherboard vendor names the update feature differently, although they commonly include “Flash.”
Current major motherboard vendors include:
- ASRock: Flash Instantly
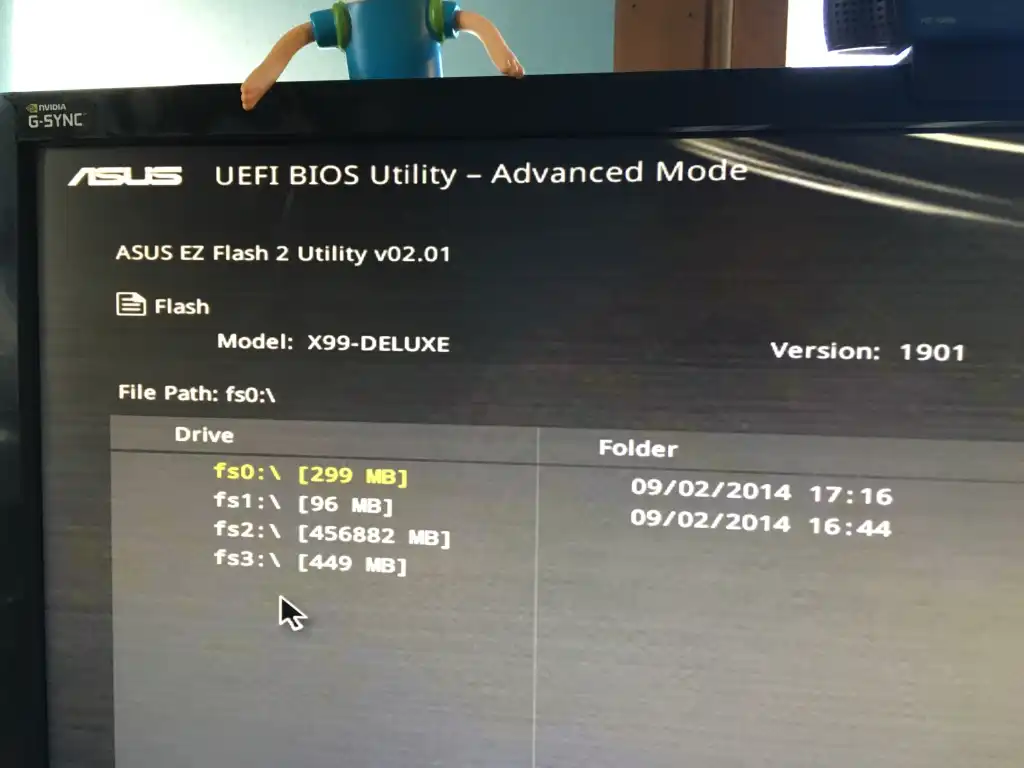
- Asus EZ Flash/EZ Flash 3
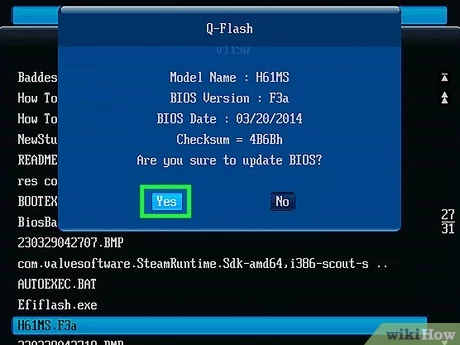
- Q-Flash Gigabyte
- MSI M-Flash
- No matter the name, it operates similarly.
- Choose the flash drive BIOS.
- Click OK or Yes to confirm.
A status menu will show the progress of your update, which usually takes a few minutes. The PC will reboot or return to the BIOS.
A Warning Before Beginning
This interface may differ from computer to computer, especially if your computer uses UEFI (Unified Extensible Firmware Interface), which is more capable than BIOS. We can’t tell you what to click, but these guidelines should help. In the event of failure, installing (or “flashing”) a new BIOS is more perilous than updating a Windows program and could brick your machine. I’ve updated my BIOS many times without any issues; however, it’s necessary to be vigilant.
BIOS update from Windows
Some manufacturers let you update the BIOS via Windows, bypassing the boot menu. The process becomes simpler and less stressful. Search “Device Manager” from the taskbar, open Control Panel, and select Firmware. Right-click System Firmware, then Update Driver. Computers can scan the web for updates or find downloaded files. Acer requires you to download and run an EXE file from the manufacturer’s site, while HP has its software update program.
Double-clicking the update program will reboot and update your laptop without rebooting. However, you may wish to enter the BIOS setup before updating to save any settings. After the BIOS update finishes and you’ve made any necessary settings changes, you can use your computer as usual without any upgrades or corrections.


