Guide to Optimize Your 3D Architectural Project
- 1 How To Optimize Your 3D Architectural Project
- 1.1 Laying the foundation for growth
- 1.2 Importance of 3D Architectural Projects
- 1.3 Defining Project Goals of your 3D project
- 1.4 Pre-Production Phase for your 3D Architectural project
- 1.5 Production Phase for your 3D Architectural project
- 1.6 Software for Optimal 3D Architectural Projects
- 1.7 Composition principles to create visually appealing 3D scenes
- 1.8 Utilizing Post-Processing Techniques for your 3D project
- 1.9 Implementing time-saving techniques and automation in 3D projects
- 1.10 Addressing rendering errors in your 3D architectural project
- 2 Detail Video on Optimizing Your 3D Architectural Project
- 2.1 Conclusion
Whether you’re an experienced designer or a curious novice, this guide is here to ignite your creative spark and unlock the hidden potential of your 3D architectural project. You probably have all your tools, from render farm as Rebusfarm to render all your 3D project with support of all 3D design software, with you. But still wondering how to optimize Architecture projects.
Get ready for an adventure that will leave your projects looking so spectacular they’ll make the Eiffel Tower jealous. Buckle up because we’re about to embark on a turbo-charged optimization ride that will make your architectural dreams come true. Let’s get started!
How To Optimize Your 3D Architectural Project
Laying the foundation for growth
When it’s about laying the foundation for the growth of an architectural project, there are several critical steps and considerations to keep in mind. With Rebusfarm you will get a free trial of 27 USD for your first 3D projects to render.
Below are some important aspects to focus on:
- Clearly define project vision and goals, aligning all stakeholders on objectives.
- Conduct comprehensive market research to identify trends and target audiences.
- Define the target audience’s needs and preferences for tailored design and marketing strategies.
- Create a compelling brand identity to attract clients and contribute to project growth.
- Assemble a skilled and experienced team to execute the project successfully.
- Foster collaborations and network with industry professionals for new opportunities.
- Embrace technology and innovation for streamlined processes and enhanced designs.
- Encourage continuous learning and improvement within the team.
- Develop a robust marketing strategy to raise awareness and showcase the portfolio.
- Focus on client satisfaction to generate positive testimonials and referrals.
Importance of 3D Architectural Projects
3D architectural projects allow stakeholders to visualize designs accurately, leading to better decision-making and reduced errors during construction. From color correction and depth of field to image compositing and adding textures.
Additionally, considerations such as lighting adjustments and template creation contribute to saving time and ensuring consistency across projects. Furthermore, these 3D renderings and virtual walkthroughs enable active client participation, providing valuable feedback and ensuring expectations are met, improving project outcomes.
Defining Project Goals of your 3D project
To facilitate effective decision-making and resource allocation, it is essential to define the purpose and desired outcomes of the project clearly. This helps guide the project’s direction and appropriately allocate resources.
Additionally, setting measurable goals and objectives allows for tracking progress and evaluating the project’s success. By establishing a clear timeline and milestones, project management becomes more efficient, and timely delivery can be achieved.
Identifying key performance indicators (KPIs) enables monitoring and assessing the project’s performance against established targets. Furthermore, it is crucial to align project goals with stakeholders’ expectations and obtain their buy-in to ensure the successful execution of the project.
Pre-Production Phase for your 3D Architectural project
The design process begins with site analysis and surveys to gather crucial information. Initial concepts are developed and refined through collaboration with clients and stakeholders. Detailed drawings and models accurately represent the design.
Collaboration with specialists ensures the integration of their expertise. Necessary permits and approvals are obtained before proceeding.
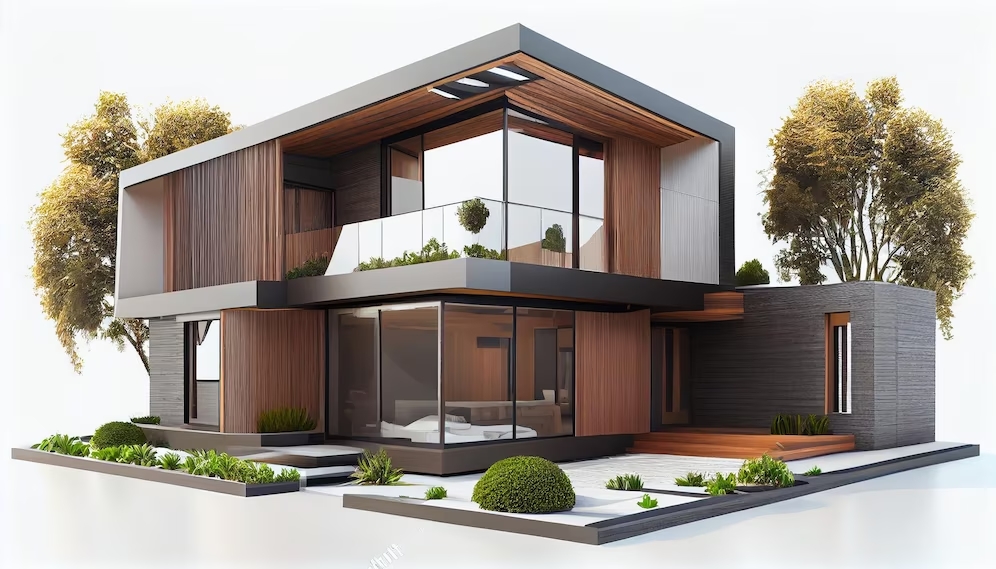
Production Phase for your 3D Architectural project
The production phase of a 3D architectural project involves utilizing software tools and techniques to bring the design to life. The project evolves from a concept to a visually realistic representation through modeling, texturing, lighting, and rendering.
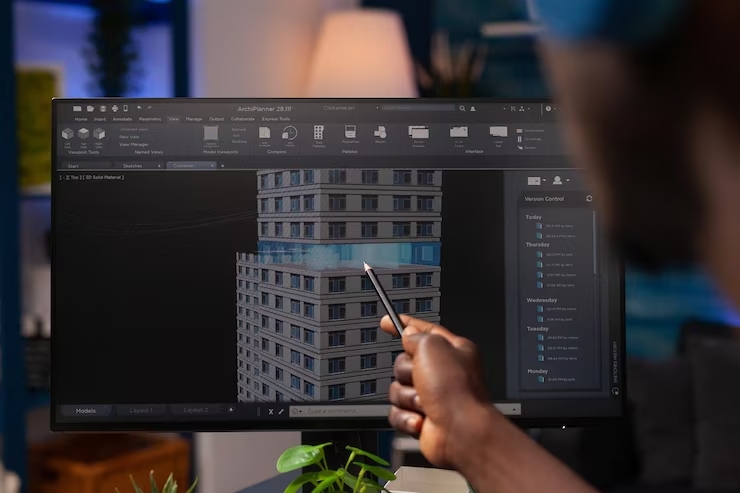
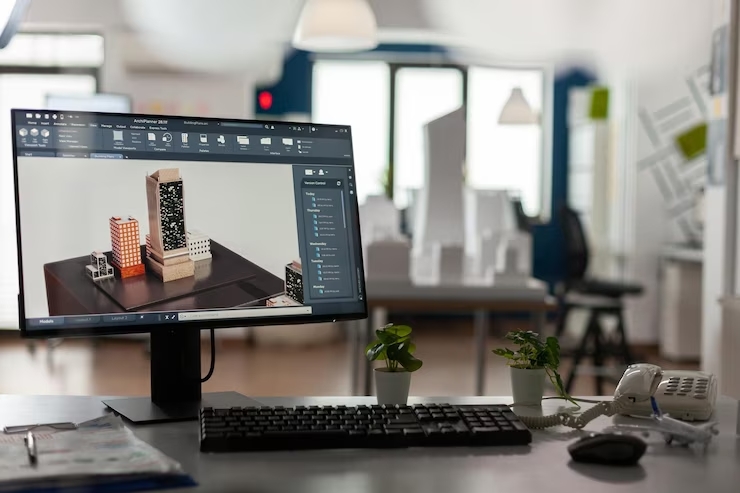
Software for Optimal 3D Architectural Projects
Optimal 3D architectural projects benefit from the use of specific software applications, such as AutoCAD, SketchUp, Revit, and 3ds Max. These tools provide advanced modeling, rendering, and collaboration capabilities, enabling efficient and accurate project development.
Architects can streamline their workflow and explore design options more efficiently by utilizing parametric modeling, scripting, and procedural texturing. Furthermore, leveraging rendering farms or cloud rendering services as Rebusfarm provides helps expedite the rendering process for complex scenes.
Composition principles to create visually appealing 3D scenes
Creating visually appealing scenes in 3D architectural projects relies on key composition principles. By considering elements like balance, harmony, focal points, perspective, lighting, and color theory, designers can craft captivating visuals that enhance the overall impact and aesthetics of the project.
Utilizing Post-Processing Techniques for your 3D project
In the field of architectural visualization, post-processing techniques play a massive role in enhancing the visual quality and realism of 3D renders.
Architects and designers can create stunning visuals that accurately represent their design concepts by implementing effective post-processing techniques.
Here are a few key post-processing techniques commonly used in the architectural process:
- Color Correction: Adjust color balance, contrast, and saturation for improved visual appeal and composition.
- Depth of Field: Simulate depth of field to focus on specific areas and create a realistic, cinematic effect.
- Image Compositing: Combine render passes/elements for greater control and accurate representation of the architectural design.
- Adding Textures and Details: Enhance textures and add fine details using bump maps, displacement maps, and texture overlays.
- Lighting Adjustments: Fine-tune lighting to achieve the desired mood, atmosphere, and realistic depiction of architectural space.
Implementing time-saving techniques and automation in 3D projects
Time-saving techniques and automation are vital in optimizing the architectural workflow, reducing repetitive tasks, and increasing overall productivity.
Here are some strategies to implement in the architectural process:
- Template Creation: Develop reusable templates to save time and customize scene setups or material libraries for different projects.
- Parametric Modeling: Use parametric modeling tools for flexible and adjustable 3D models by defining parameters and constraints.
- Scripting and Macros: Automate repetitive tasks with scripts or macros to streamline material assignments, modifiers, and render exports.
- Procedural Texturing: Generate textures algorithmically, saving time and ensuring consistent material application in large-scale projects.
- Rendering Farm or Cloud Rendering: Speed up rendering for complex scenes by distributing the workload across multiple machines or utilizing cloud-based resources.
Addressing rendering errors in your 3D architectural project
Rendering errors can occur during the 3D visualization process and negatively impact the final output. Here are some approaches to address rendering errors:
- Checking Geometry and Scene Setup: Verify clean geometry and correct scene configuration to avoid errors like overlapping faces or misplaced lighting and camera placement.
- Adjusting Render Settings: Eliminate rendering artifacts or noise by adjusting render settings, such as quality, samples, and anti-aliasing.
- Troubleshooting Materials and Textures: Ensure proper material assignment, texture mapping, and accurate UV coordinates to prevent rendering errors.
- Rendering Iteratively: Render in passes or layers to identify and isolate specific elements causing errors, allowing for targeted fixes without re-rendering the entire scene.
- Post-Processing and Image Editing: Utilize post-processing techniques to address rendering errors, such as adjusting brightness/contrast, noise reduction, or applying filters.
Detail Video on Optimizing Your 3D Architectural Project
Conclusion
Finally, optimizing your 3D architectural project requires attention to various aspects, including render farm needs throughout the workflow. While you plan on your goals, get clarity on the project, and start working, having Rebusfarm at hand is not enough. You need to know how to exactly use techniques effectively.
Finally, troubleshooting materials, textures, and iterative rendering and post-processing offer opportunities to refine and eliminate rendering errors. Following this guide can optimize your 3D architectural projects and achieve impressive, realistic results.