How to install a wired smart light switch?
Nothing beats staying on the couch and dimming the lights with a button to create a cinematic ambiance. With little electrical knowledge, DIYers can install smart light switches in your home cheaply. For the convenience and security of controlling your lights from anywhere, learn how to install a smart light switch safely and quickly.
Why Would I Install Home Smart Light Switches?
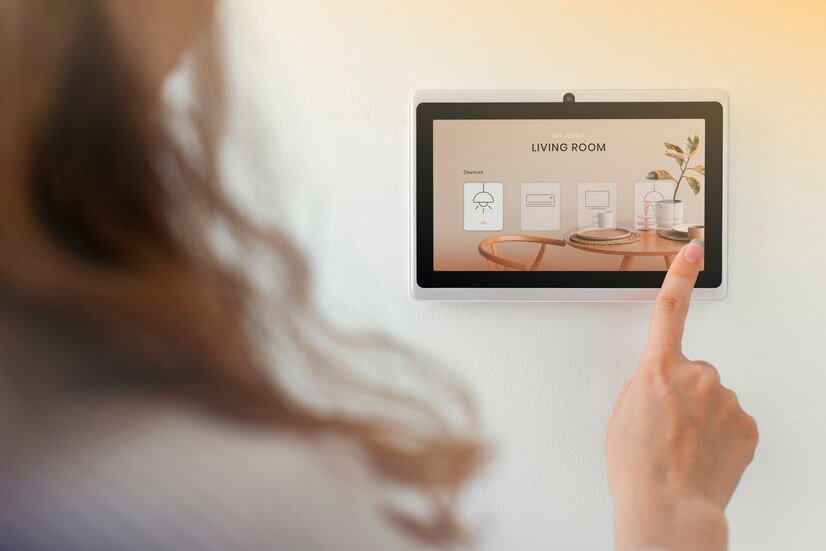
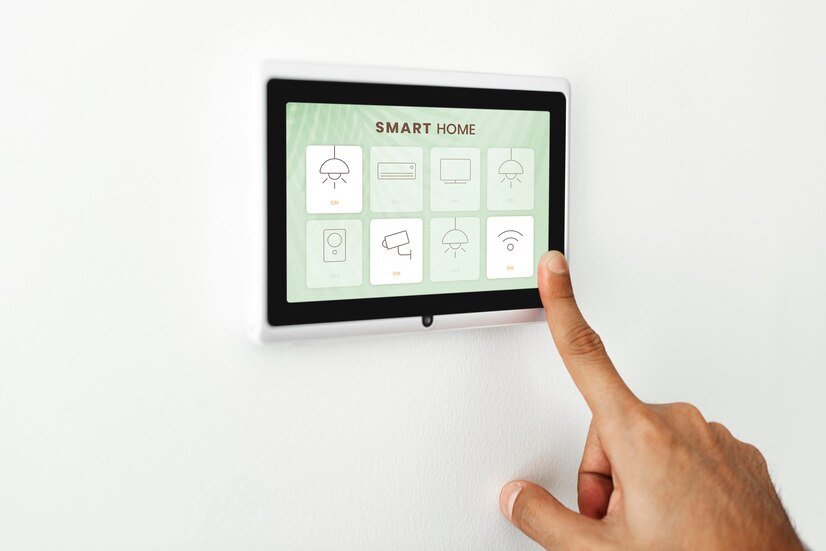
Smart home automation and technology are growing in sophistication and popularity. A WiFi-connected smart light switch is affordable household tech. These allow phone apps or voice assistants like Alexa to manage your lights remotely.
Smart light switches have these benefits:
- Smart light switches can lower your energy bill. If your kids forget to turn off the lights when they leave or go to bed, you may set a timer and flick the switches remotely.
- Setting your lights on a timer and turning them on remotely can prevent burglary.
- Voice activation or phone control to turn on or dim switches from your workstation or bed is a luxury.
How To Set Up Smart Light Switch?
- Unbox the switch and inspect for screws and any accessories.
- Switch off the power at the fuse box.
- Try the switch or another appliance to confirm the electricity is off.
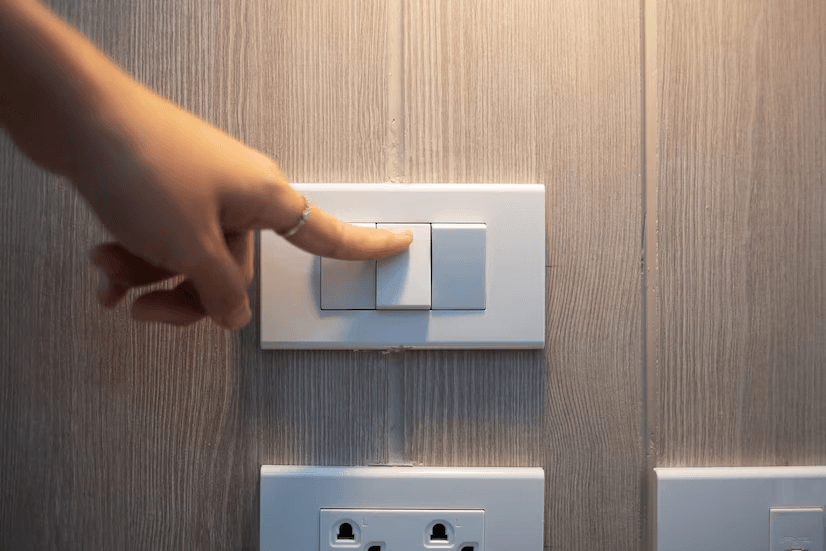
- Eliminate the light switch.
- Connect the smart switch.
- Secure the smart switch to the wall.
- Restart the electricity.
- Connect the smart switch to WiFi.
- Connect the switch to the smart home.
What Features You Want?
How advanced should your smart light switch be? More features mean a more expensive button.
Choose from the following:
- Timer: Do you want to program your lights to turn on and off?
- Activity: Do you want to operate your switches from the wall panel, an app, voice-assisted technologies, or just a few?
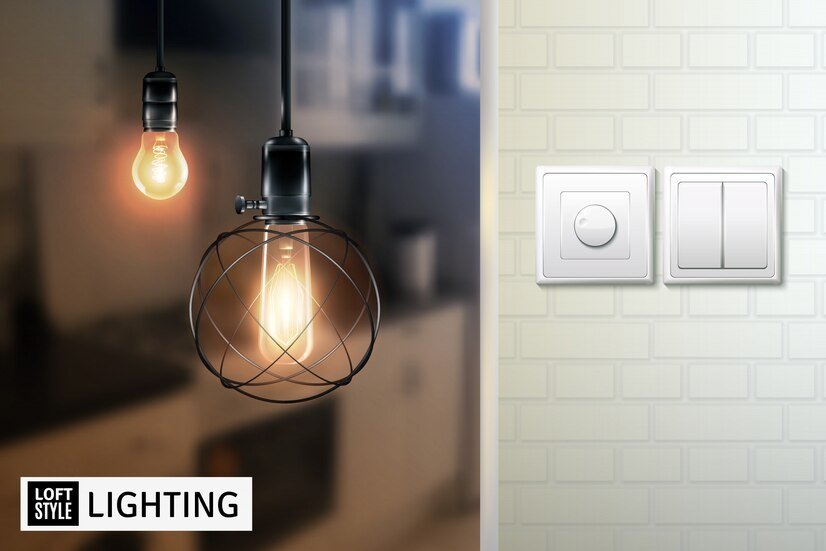
- Dimmers: Some smart light switches dim instead of turning on and off. Make sure your bulbs can dim if you choose this feature.
Is Your Smart Light Switch Wiring Correct?
Many smart light switches require a neutral wire. Modern homes built after 1985 have neutral wiring. Check older homes—in the US, they are white or gray. If there is no neutral wiring, an electrician must install it, or you can use smart switches without neutral wiring.
One switch controls bulb power in single-pole light switches. A three-way switch arrangement controls the light from two buttons, which is popular in corridors. This type of electrical switch requires an additional traveler wire and a clever multi-switch system.
How to Install Smart Light Switch?
Install a wired, single-pole smart light switch using these methods. Also, verify the manufacturer’s design variations directions.
-
Turn off the Power and Remove the Wall Plate
Flip the switch in your breaker box to turn off the circuit that powers your light switch. If there is breaker mislabeling, test the button with a multimeter to guarantee no voltage. Remove the switch wall plate using a flathead screwdriver.
-
Unplug the Old Switch
Disconnect the switch from the circuit wires carefully. Three color-coded electrical wires—black load, white neutral, and copper ground—connect single-pole switches. Sometimes, the cables are tightly coiled and require wire-twisting pliers to unwind.
-
Check and Prepare Wires
Check wires for damage. This job requires a flashlight if illumination is poor. To ensure a good connection, clip frayed ends with wire cutters. Put down the tools and call a local electrician for a second electrical examination for significant damage like mouse biting or scorch marks. For wires you trimmed, use wire strippers to remove about half an inch of insulation to reveal the bare wire.
-
Connect New Switch Wires
Connect the new smart switch to the wires. Carefully secure wire connectors to each wire.
To avoid confusion and loose connections, take these steps:
- Each exposed wire should have a U-hook end.
- Clockwise wrap the black load wire around the right brass terminal screw.
- Wrap the white neutral wire around the terminal.
- Wrap the green or copper ground wire around the left ground terminal screw.
- Tighten the screws using a screwdriver to secure the wires.
-
Install New Switch
Wires shouldn’t bend uncomfortably inside the enclosure. Wrap electrical tape around the switch’s body to shield the terminals. Don’t force the wires into the switch box—gently tuck them in. If the cables fit neatly, screw the switch in.
-
Install New Switch Wall Plate
Screw the switch wall plate in place for a tidy finish. Custom wall plates that fit your decor should not be metal since they can interfere with the smart light switch WiFi signal.
-
Check the Switch
The moment of truth. If everything goes well, the light should come on when you press the switch after turning the power back on at the breaker box. Do not worry if it fails the first time—there may be a loose connection. Switch off the electricity at the breaker box again and verify that all cables are firmly connected. If the new smart switch still doesn’t function, call an electrician.
-
Link the Switch to the App or Device
Let technology take over now. Check the manufacturer’s instructions for connecting your smart light switch to the brand app for WiFi and voice-assisted technologies. Downloading the program, creating an account, and entering WiFi details are typical.