How to Laminate at Home Without a Machine: A Simple Guide
Are you looking for a way to laminate your documents or photos at home without a machine? Lamination is a great way to protect your important papers from spills, tears, and smudges. However, not everyone has access to a laminating machine. Fortunately, there are a few easy ways to laminate at home without a machine.
One popular method is using clear packing tape. Simply place the item you want to laminate on a flat surface, then cover it with a sheet of clear packing tape, sticky side down. Smooth out any bubbles or wrinkles, then trim off the excess tape. This method is quick, easy, and affordable, but may not be as durable as other methods.
Preparation Before Lamination
Choosing the Right Material
Before you start laminating, it’s important to choose the right material for your project. Make sure that the material you are using is suitable for lamination. You can laminate paper, cardstock, photographs, and more. However, materials such as fabric, metal, and plastic are not suitable for lamination.
When choosing the material, keep in mind that the thickness of the material will affect the laminating process. Thicker materials may require a longer laminating time and higher temperature settings. So, choose the material accordingly.
Cutting to the Right Size
Once you have chosen the material, the next step is to cut it to the right size. Make sure that the material is cut slightly larger than the size you want it to be after lamination. This will allow for a small border around the edges of the laminated item.
It’s also important to make sure that the corners of the material are rounded before lamination. This will prevent the corners from getting stuck in the laminator and causing a jam.
When cutting the material, use a sharp pair of scissors or a paper cutter to ensure clean and straight edges. Uneven edges can cause the material to wrinkle or bubble during lamination.
By choosing the right material and cutting it to the right size, you can ensure a smooth and successful lamination process.
Step-by-Step Guide to Laminating at Home Without a Machine
Laminating can help protect important documents and make them last longer. If you don’t have access to a laminating machine, you can still achieve a professional-looking finish by following these steps.
Applying the Laminating Film
- Start by cutting a piece of laminating film that is larger than the document you want to laminate. Leave at least half an inch of extra film on all sides.
- Peel the backing off the laminating film and place it sticky side up on a flat surface.
- Carefully place your document on top of the laminating film, making sure it is centered and straight.
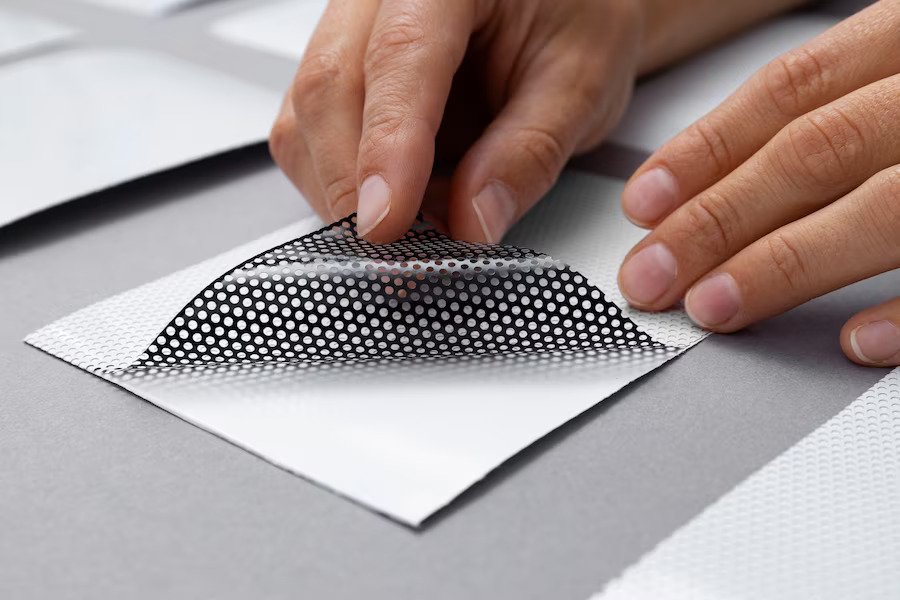
- Peel the remaining backing off the laminating film and carefully fold it over your document, starting from one end and smoothing out any air bubbles as you go.
Smoothing the Surface
- Use a credit card or similar object to smooth out any air bubbles or wrinkles in the laminating film. Start from the center and work your way outwards.
- Apply firm pressure to the entire surface of the laminating film, making sure it is securely adhered to your document.
- If necessary, use a clean, damp cloth to wipe away any fingerprints or smudges on the laminating film.
Trimming the Edges
- Use a pair of scissors or a paper trimmer to carefully trim the excess laminating film from around the edges of your document. Leave a small border of laminating film around the edges to ensure a secure seal.
- If desired, use a corner-rounder punch to round the corners of your laminated document for a more professional look.
By following these simple steps, you can achieve a professional-looking laminated finish at home without the need for a machine.
Conclusion
In conclusion, laminating at home without a machine is a simple and cost-effective way to protect your important documents and keepsakes. With the right materials and techniques, you can achieve professional-looking results without leaving the comfort of your own home.
Remember to choose the right laminating pouches for your project and carefully follow the instructions for your adhesive sheets. Taking your time and being patient while laminating will ensure that your final product looks great and lasts for years to come.
Additionally, it’s important to note that while laminating can provide a layer of protection, it does not make your documents completely waterproof or indestructible. Always store your laminated items in a safe and dry place to avoid any damage.
Overall, laminating at home without a machine is a great option for those who want to protect their important documents and keepsakes without spending a lot of money. With a little bit of practice, you’ll be able to achieve professional-looking results every time.


