What Are the Four Basic Methods of Soap Making?
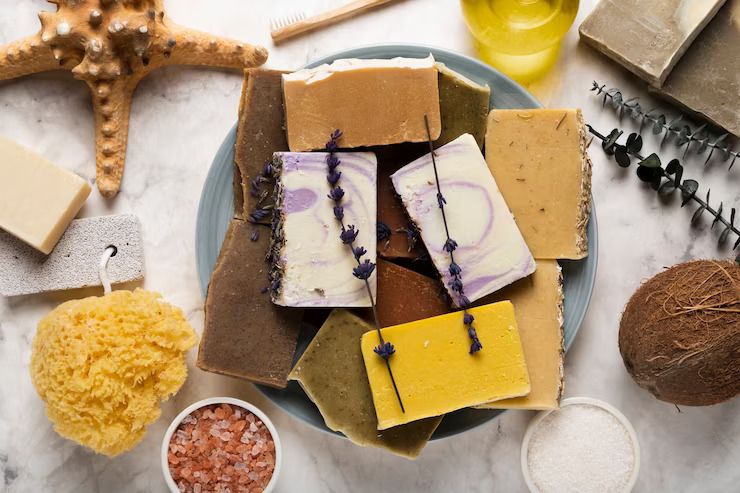
Soap making is a time-honoured craft that has been practised for centuries. While the basic principles of soap-making remain the same, there are several different soap-making supplies and methods for creating soap. The four most popular methods of soap making are the cold process, hot process, melt and pour, and rebatching.
Each method has unique benefits, challenges, and techniques. Whether you’re a seasoned soap maker or a beginner, understanding the differences between these methods can help you choose the best one for your soap-making project.
What Are the Four Basic Methods of Soap Making?
Cold Process
In this method, oils and lye are mixed at a low temperature. They are then left to cure for several weeks until saponification, the fundamental chemical reaction in soap making, occurs. There are several benefits to using the cold-process soap-making method.
Cold process soap making allows you to create your custom soap recipes. You can choose different oils, fragrances, and colourants. It also allows you to create soap using natural ingredients without synthetic additives or preservatives. This makes it an excellent option for people with sensitive skin or allergies.
This process produces less waste compared to other soap-making methods. Because the soap is made in small batches, the leftover materials can be reused or recycled.
Cold-process soap also does not require any chemical additives or synthetic preservatives. It’s a great way to create natural, customizable, and long-lasting soap that is gentle on your skin and the environment.
Hot Process
This method is similar to the cold process, but the mixture is instead heated. Heat speeds up the saponification process and reduces curing time. Hot process soap making results in a fully cured soap that is ready to use within a few days, as opposed to the several weeks required for cold process soap.
The hot process provides greater control over the soap because the mixture is heated and stirred constantly. This way, the soap is mixed correctly and does not separate, resulting in a smoother texture.
Unlike the cold process, where you need to wait for the lye solution to cool down before mixing with oils, in the hot process method, you can start mixing the lye solution and oils immediately. The heat also helps to distribute the lye evenly throughout the mixture. It breaks down impurities in fats and oils, allowing you to use lower-quality ingredients and still achieve a good-quality soap.
The hot process method produces a more rustic and textured appearance, which some people find appealing. This can be especially useful when making soaps with added exfoliants, as the soap’s texture can help scrub away dead skin cells.
Melt-and-Pour
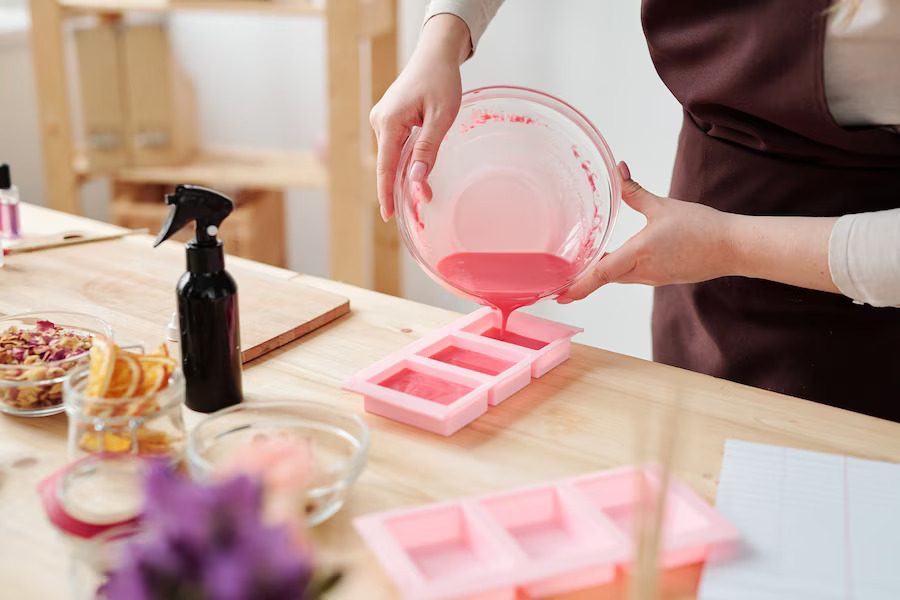
The melt-and-pour method involves melting pre-made soap bases. You then add colourants and fragrances and pour the mixture into moulds. Melt-and-pour soap making is very easy and quick. The soap cools and hardens within a few hours and is ready to use or gift.
Melt-and-pour soap-making allows for a lot of creativity and customization. You can add fragrances, colours, and textures to create unique and personalized soaps. It’s a very safe method because it doesn’t require lye, which can be dangerous if improperly handled. The pre-made soap base is already saponified, meaning it’s already transformed into soap and is safe to handle.
Because the soap base is pre-made, the quality and consistency of the soap are always the same. This makes creating large batches of soap easier and makes melt-and-pout an excellent method for beginners. It’s a simple process that doesn’t require many soap-making supplies or special knowledge.
Rebatching
Also known as hand-milled soap, this method involves grating pre-made soap, melting it, and adding extra ingredients such as essential oils or exfoliants before moulding it into a new bar.
Rebatching soap is a great way to use up leftover soap scraps. This reduces waste and allows you to use soap that would otherwise be discarded. You can add fragrances, colours, and textures to create unique and personalized soaps.
This is a safe method because it doesn’t require the use of lye. The soap has already been made and saponified, so there’s no need to handle dangerous chemicals. Rebatching allows you to have control over the ingredients that are added to the soap.
Rebatching soap makes soap with a unique texture, which can be exciting and appealing. The soap can have a rustic, chunky appearance or a smoother, creamier texture, depending on how it’s rebatched.
Soap Making Supplies: Where To Start?
Each method has advantages and disadvantages, and the choice will depend on factors such as the desired outcome, the ingredients available, and the maker’s personal preferences. Browse soap-making supplies from a wholesaler to learn more about your options and which method might work best for you!


