
In the sprawling urban landscape of Toronto, clean windows can often become the unsung heroes of our homes and offices. Not only do they let in natural light but also provide breathtaking views of the city’s skyline. Window cleaning thus becomes an integral part of property maintenance in Toronto. But the question remains: How often should you clean your windows in this bustling metropolis?
Factors Determining Window Cleaning Frequency
Several factors influence how often you should be reaching out for professional window cleaning services in Toronto:
- Location of Property: Properties closer to busy streets or industrial areas are likely to accumulate grime and dust faster than those in quieter neighborhoods.
- Weather: Toronto’s varied seasons can play a role. The aftermath of winter snow or spring rains might necessitate more frequent cleanings.
- Landscaping: If you have trees shedding leaves or flowers near your windows, they might get dirty quicker.
- Personal Preference: Some homeowners love the gleam of spotless windows and opt for more regular cleaning, irrespective of external factors.
General Recommendations for Toronto Residents
Given the city’s unique conditions, here’s what you might consider:
- Residential Properties: Bi-annual window cleaning, especially after winter and autumn, should suffice for most homes.
- Commercial Buildings: Given the high traffic and desire to maintain storefront aesthetics, quarterly cleaning can be beneficial.
- Industrial Areas: Due to higher exposure to pollutants and dust, monthly checks and cleaning might be necessary.
Benefits of Regular Window Cleaning
Maintaining a regular window cleaning schedule goes beyond aesthetics:
- Lifespan: Regular cleaning can extend the life of your windows, preventing dust and grime from corroding the panes and frames.
- Improved Indoor Lighting: Clean windows let in more natural light, enhancing the indoor environment.
- Energy Efficiency: Cleaner windows can improve solar gain in winters, passively heating your space.
Turning to the Experts in Toronto
While many chores can be DIY, window cleaning, especially for high-rises or larger homes, requires expertise. And in Toronto, one name stands out for its dedication to perfection: nickswindowcleaning.ca. Their commitment to quality, combined with advanced cleaning methods, ensures Toronto’s windows sparkle, no matter the season. Discover the difference professional cleaning can make and elevate the clarity of your views today.
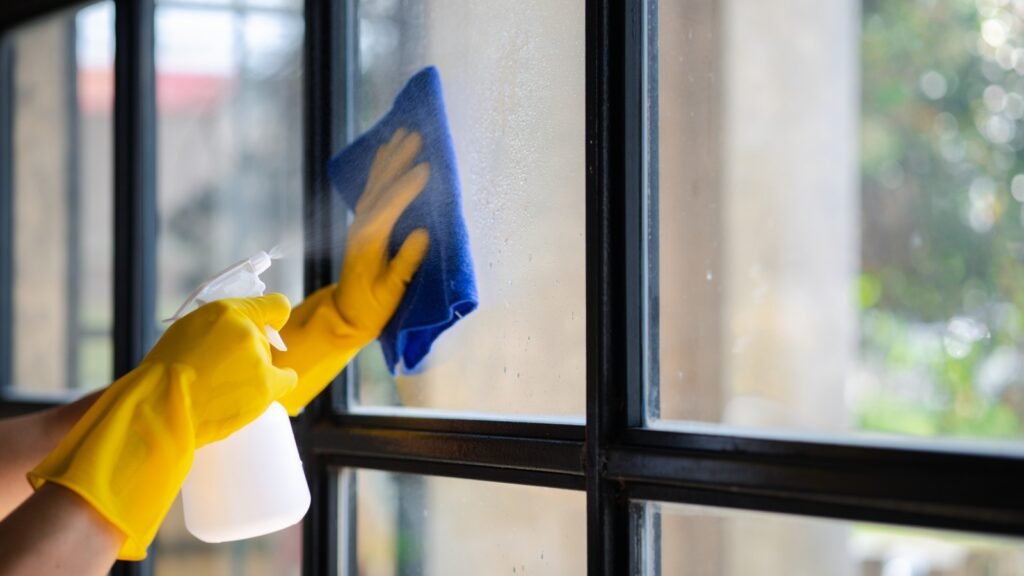
How to Clean windows
Cleaning windows effectively involves a few simple steps and the right tools. Here’s a step-by-step guide to help you clean your windows:
Tools and Supplies Needed:
- Window cleaning solution (commercial or homemade)
- Bucket
- Squeegee
- Microfiber or lint-free cloths
- Scrubbing brush or sponge
- Water
- Vinegar (optional)
- Dish soap (optional)
- Extension pole (for hard-to-reach windows)
- Ladder (if necessary)
Steps:
- Gather Your Supplies: Collect all the necessary tools and supplies before you start cleaning. Make sure you have everything you need nearby to avoid interruptions.
- Prepare the Cleaning Solution: You can either use a commercial window cleaning solution or make your own. A simple homemade solution involves mixing equal parts of water and vinegar, or water with a few drops of dish soap. Pour your chosen solution into a bucket.
- Dust and Brush: Before applying any liquid, dust and brush the window frame, sill, and surrounding areas to remove dirt, cobwebs, and debris.
- Wash the Window: Dip a scrubbing brush or sponge into the cleaning solution and gently scrub the entire surface of the window, starting from the top and working your way down. Pay special attention to areas with stubborn dirt or grime.
- Squeegee Technique: Using a squeegee, start at the top corner of the window and pull it down in a straight line, wiping the blade with a clean cloth after each pass. Overlap each pass slightly to avoid streaks. Continue this motion across the window, working your way from top to bottom.
- Wipe Dry: After using the squeegee, wipe the window frame and edges with a microfiber or lint-free cloth to catch any remaining moisture and prevent water spots.
- Touch-Up Detailing: Inspect the window for any remaining streaks or spots. If needed, use a dry cloth to buff out streaks, or lightly dampen a cloth with water or a diluted cleaning solution to spot-treat stubborn areas.
- Repeat on the Other Side (If Applicable): If you’re cleaning windows that are accessible from both sides, repeat the above steps on the other side of the window.
- Clean Window Screens (Optional): If your windows have screens, you can remove and clean them separately using a brush or by gently washing them with soapy water and rinsing thoroughly. Allow them to dry before reattaching.
- Finishing Touches: Stand back and admire your clean windows! If you’ve used a vinegar-based solution, the smell should dissipate as the windows dry.
Tips:
- Avoid cleaning windows on a sunny or hot day, as the solution can dry too quickly and leave streaks.
- Work methodically, and tackle one window at a time for the best results.
- For hard-to-reach windows, consider using an extension pole and squeegee or hiring a professional window cleaning service.
- Regular maintenance can make future cleaning easier, so try to clean your windows at least a few times a year.
Remember, practice makes perfect, so don’t be discouraged if your first attempts aren’t perfect. With time and experience, you’ll become more proficient at achieving streak-free, sparkling windows.