
Effective Tips for Ghost Mannequin Clothing Photography: A Comprehensive Guide
- 1 What is Ghost Mannequin Photography?
- 2 Why Ghost Mannequin Photography Works for eCommerce
- 3 How to Create the Best Ghost Mannequin Photography Effects
- 3.1 1. Shoot from Multiple Angles
- 3.2 2. Use the Right Equipment
- 3.3 3. Choose the Best Size Mannequin for Your Clothes
- 3.4 4. Focus on Proper Post-Production
- 4 Additional Tips for Ghost Mannequin Photography
- 5 Conclusion
The eCommerce industry is highly competitive, with new brands emerging daily and vying for consumer attention. In this digital shopping era, showcasing your products most appealingly and professionally is crucial to stand out from the competition. One key to success is presenting your clothing in a way that emphasizes fit, form, and design. A powerful technique to achieve this is ghost mannequin clothing photography.
Ghost mannequin photography provides an efficient, cost-effective method to promote clothing online. Unlike flat-lay or hanging methods, ghost mannequins retain the natural shape of garments while removing the distraction of a visible model or mannequin. The result is a polished, professional look that increases desirability and enhances your eCommerce store’s image. This guide explores effective tips to create stunning ghost mannequin photography, helping you transform your online store’s appearance and increase conversions.
What is Ghost Mannequin Photography?
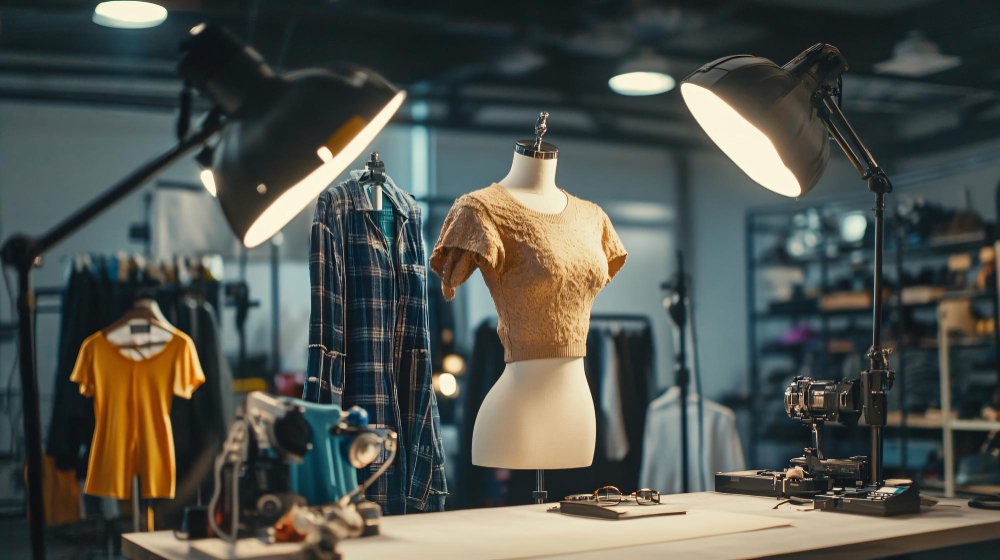
Ghost mannequin photography is a post-production editing technique in fashion photography where the mannequin used to display the clothes is digitally removed, leaving only the garment. The goal is to showcase the apparel’s true shape and fit without any visual interference from models or mannequins. This creates the illusion that the garment is floating or being worn by an invisible model, hence the term “ghost.”
The benefits of using ghost mannequins include:
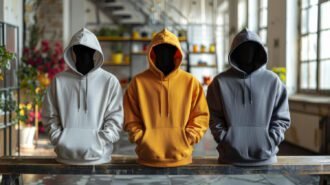
- Consistent product presentation: Every product looks cohesive across the store.
- Cost-effectiveness: Eliminates the need to hire professional models for every product.
- Professionalism: Elevates the brand’s image by showcasing products cleanly and attractively.
Why Ghost Mannequin Photography Works for eCommerce
Online shoppers rely heavily on visuals when deciding to make a purchase. Well-executed ghost mannequin photography makes products look more realistic, maintaining the structure of the clothing in a way that flat-lay photography or hangers cannot.
Here are several reasons why ghost mannequin photography works so well for eCommerce:
- Enhanced Visual Appeal: The clothing retains its natural shape, allowing customers to visualize how it would fit them.
- Increased Consistency: Every garment appears uniform, giving your website a clean, professional aesthetic.
- Improved Focus on Product Details: With the mannequin or model removed, customers focus solely on the product, increasing engagement and interest.
How to Create the Best Ghost Mannequin Photography Effects
Achieving the perfect ghost mannequin effect requires careful planning, the right equipment, and post-production expertise. Below are some tips to help you create high-quality ghost mannequin images for your eCommerce store.
1. Shoot from Multiple Angles
Taking photos from various angles is essential to creating effective ghost mannequin photography. When shooting clothing, it’s important to capture not only the front but also the back and sides of the product. This gives your customers a complete view of the item and ensures you have ample material for post-production editing.
Each shot should include:
- Front view: The primary focus of your product page.
- Back view: Often neglected but vital for showing full product details.
- Side views: Adds dimension and depth, giving customers a more complete view.
Pro tip: Take a separate shot of any area that might be hidden by the mannequin (like the inner neckline or back collar). These shots will be useful when you remove the mannequin in Photoshop, helping create a smooth and invisible look.
2. Use the Right Equipment
Investing in the right equipment is crucial for professional-looking results. High-quality cameras, lighting, and mannequins all play a role in making your clothing photography stand out. Mannequin product photography specialists such as SquareShot can tailor their techniques according to the particular product you are shooting. Here’s what you need:
- Camera: A DSLR camera with at least 24 megapixels for clear, sharp images.
- Lens: A standard 50mm or 85mm lens is ideal for fashion photography as it provides the best focal length for capturing product details without distortion.
- Tripod: To ensure consistency and avoid any movement between shots.
- Lighting: Use softbox lights or LED panels to create soft, even lighting that eliminates harsh shadows.
Even if you’re a small retailer without a professional setup, you can still produce quality photos by using affordable lighting kits and manual camera settings. Alternatively, if you’re unable to invest in the equipment, consider hiring a professional product photographer to ensure you achieve high-end results.
3. Choose the Best Size Mannequin for Your Clothes
The mannequin’s size plays a significant role in how well the garment is presented. Make sure you choose mannequins that closely match the size of the clothes you’re photographing. For instance, a small-sized mannequin may make a large shirt appear baggy and shapeless. The key is to use a mannequin that reflects the product’s intended fit and silhouette.
Types of mannequins:
- Full-body mannequins: Ideal for complete outfits, showing off how multiple pieces fit together.
- Torso mannequins: Best for tops, jackets, and dresses where only the upper body is needed.
- Leg mannequins: Specifically for pants, shorts, or skirts.
When selecting a mannequin, consider whether you want to show only the upper body or an entire outfit. Full-body mannequins are best for head-to-toe ensembles, while torso mannequins can display upper garments effectively.
4. Focus on Proper Post-Production
Post-production is where the magic happens in ghost mannequin photography. Once you’ve captured all the necessary angles, you’ll need to use photo-editing software to remove the mannequin and stitch the images together to create a seamless final product. Adobe Photoshop is the industry standard for this task.
Steps for effective editing:
- Mask the mannequin: Use Photoshop’s selection tools to select and remove the mannequin carefully.
- Combine images: If you’ve taken shots of hidden areas like the inner collar, combine these with the main image.
- Refine edges: Smooth out any rough edges left by the mannequin removal process to create a clean and realistic look.
- Color correction: Adjust the brightness, contrast, and color to make the product look as true-to-life as possible.
There are many tutorials online that can help beginners learn how to remove mannequins in Photoshop. However, if you’re not comfortable with post-production, hiring a professional photo editor might be a good investment.
Additional Tips for Ghost Mannequin Photography
- Keep the Background Neutral: A plain white or light gray background ensures that the focus remains on your product and makes it easier to cut out the mannequin during editing.
- Shoot Multiple Products in One Session: Once you’ve set up your lighting and camera, batch-shoot multiple garments in one session to save time and maintain consistency.
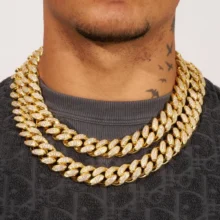
- Focus on Detail Shots: In addition to standard front and back views, consider close-ups of important details such as buttons, stitching, or fabric texture. These details add to the product’s appeal and help answer potential customer questions.
- Test Different Mannequin Styles: Experiment with full-body, torso, or hanging mannequins to see which style best showcases your products.
Conclusion
Ghost mannequin clothing photography is an essential tool for eCommerce retailers who want to present their products in the best possible light. It strikes a perfect balance between realism and professionalism by showcasing the product without distractions. By following these tips—using the right equipment, shooting from different angles, selecting the correct mannequin size, and refining your post-production skills—you can create compelling and visually appealing images that drive customer engagement and sales.
Investing in quality ghost mannequin photography can elevate your eCommerce brand, improve the shopping experience for your customers, and ultimately boost your sales and revenue.


 Still Effective for SEO in 2026?")